

 Accenting the home for the holidays can be as much fun as decorating the tree. It can also be challenging if you aren’t sure what to do. You can always go out and buy a floral arrangement, accent or centerpiece but I find so many items available are overpriced for their marginal quality.
Why not create your own?
You can add charm and warmth to a room with a few small groupings of holiday accents. It’s real simple to create a beautiful centerpiece for your dining table, fairly inexpensively and in a matter of minutes. I’m going to walk you through the steps to creating one simple arrangement and then I’ll share some additional ideas and suggestions to get your creative juices flowing.
I always recommend that you start with an idea and with items you already have on hand. Then purchase only what you need to complete your project. It’s easy to re-purpose bowls, baskets, greenery and other accessories with just a little thought and imagination.
The Easy Holiday Centerpiece
I didn’t purchase anything specifically for this project. All the items I used are inexpensive and easily attainable if you decide to duplicate it for your own home.
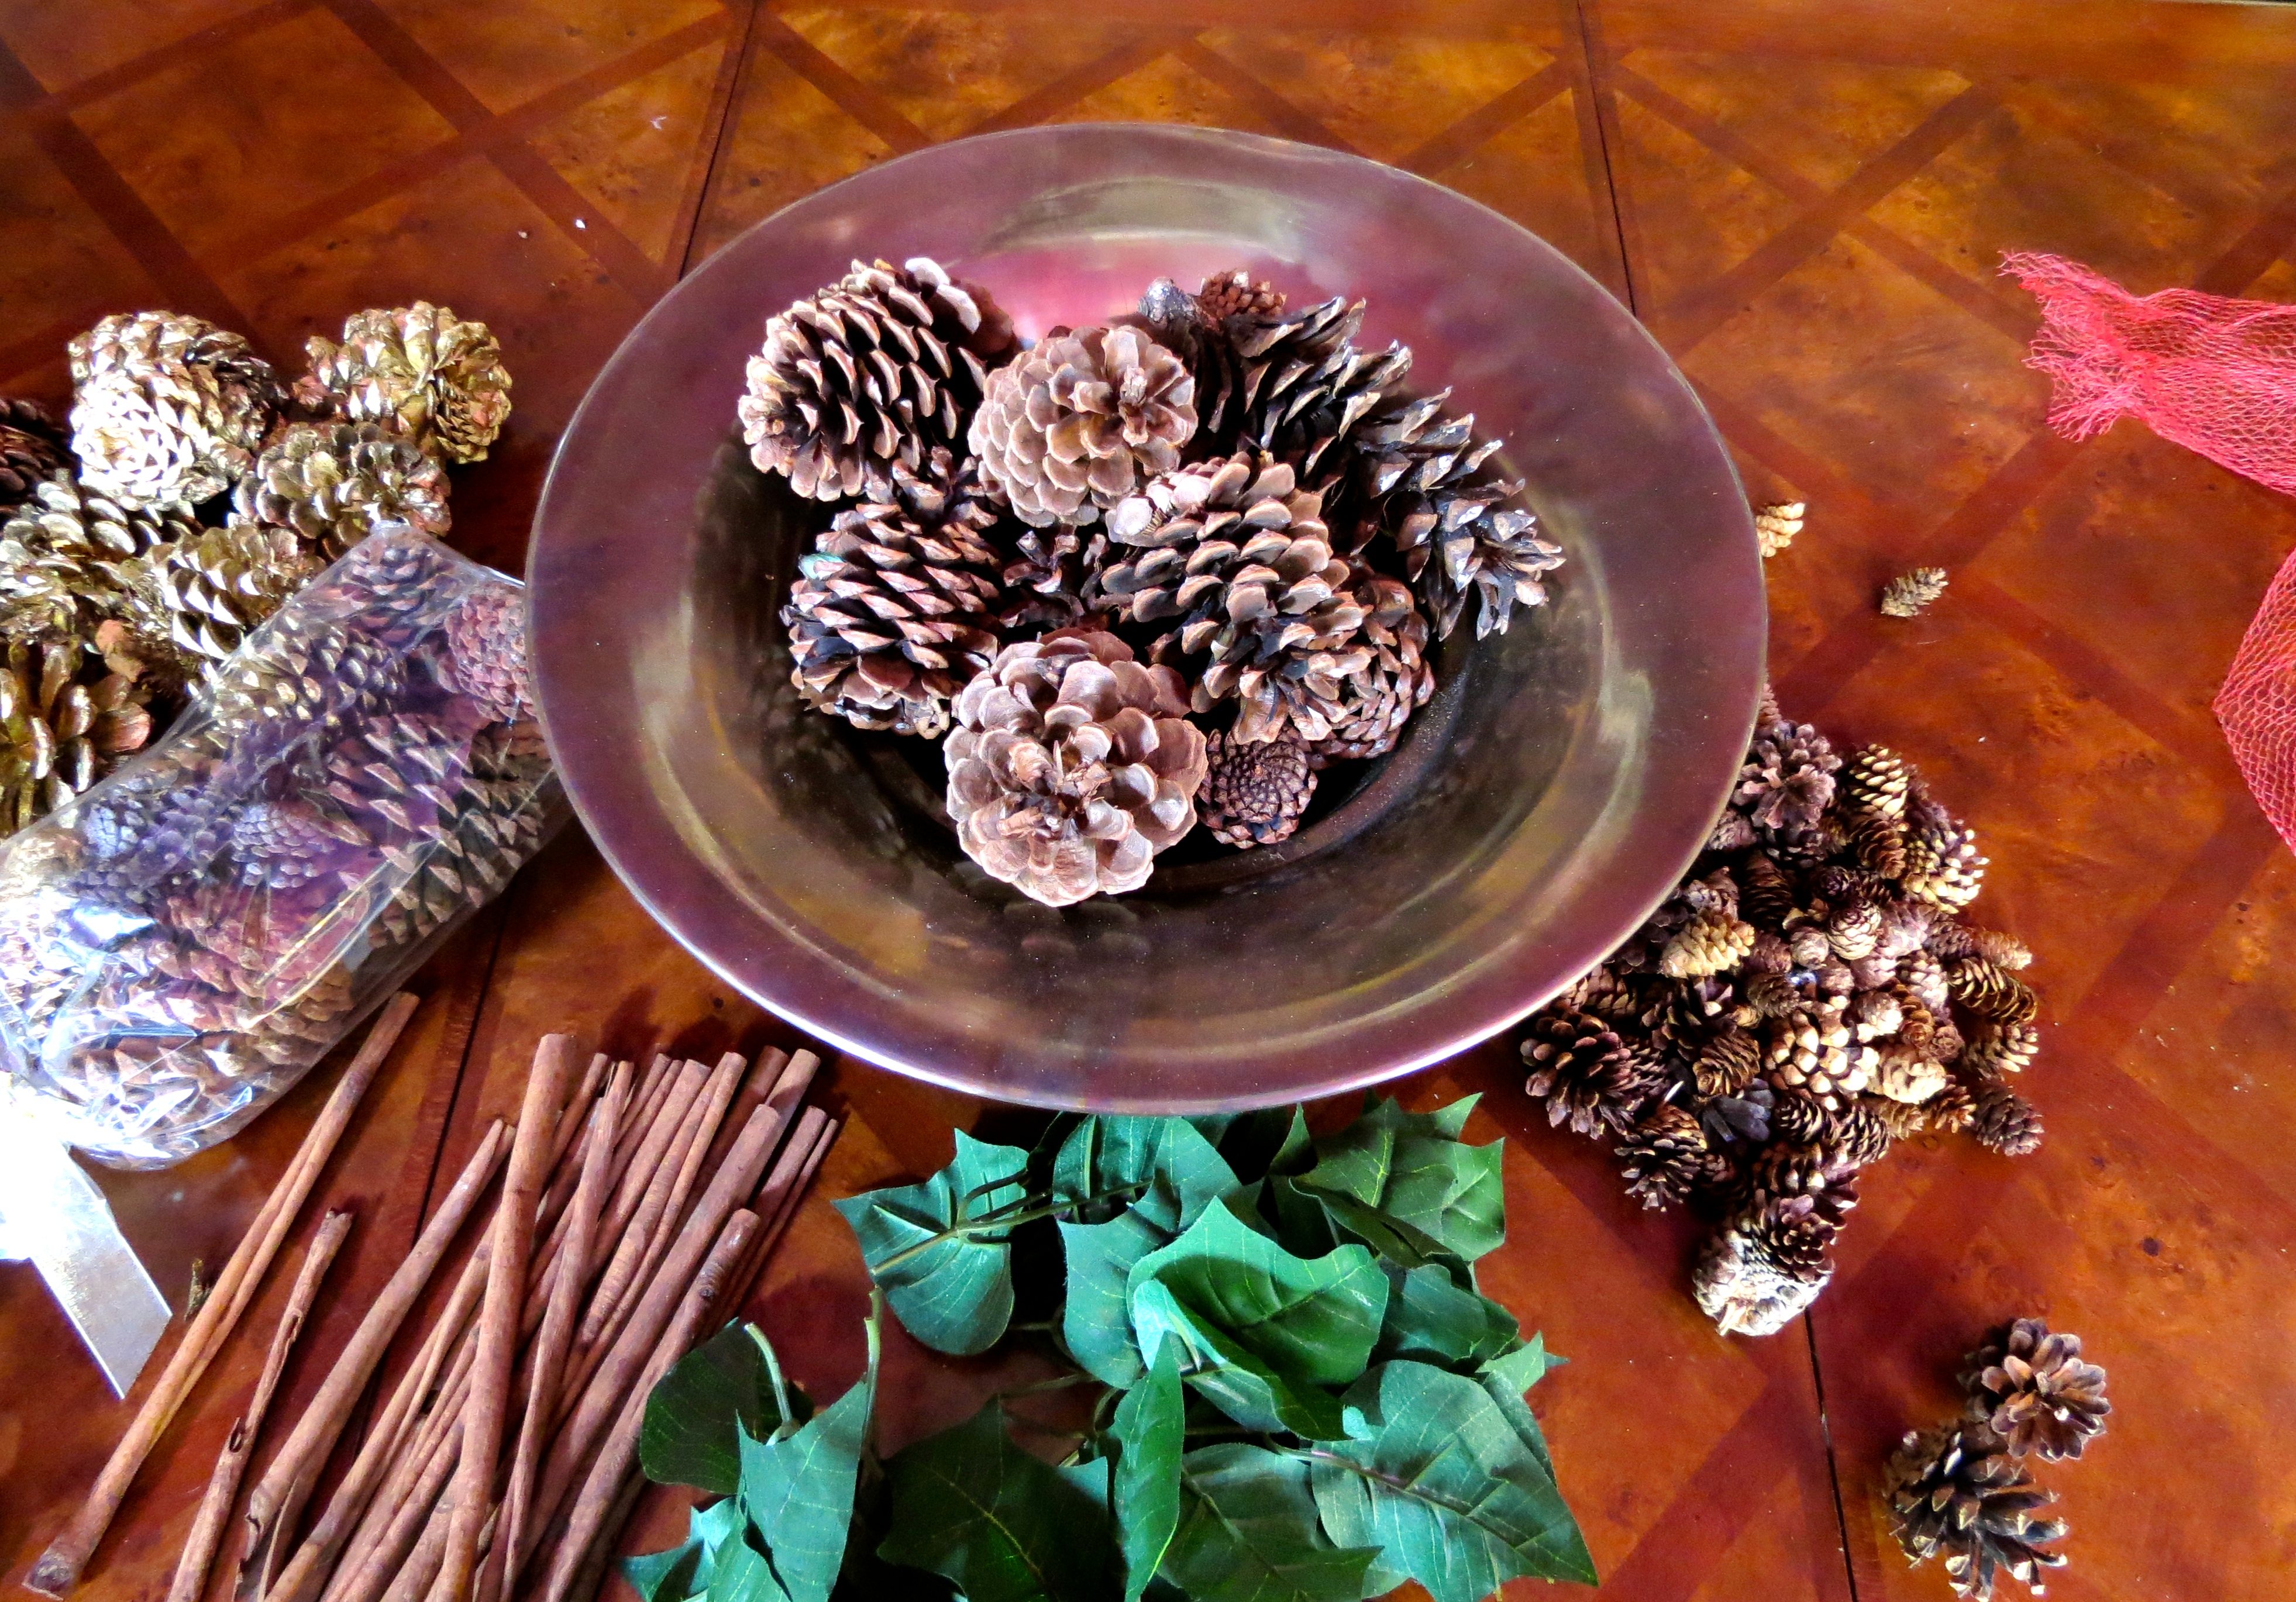
Material List:
A Decorative Bowl
Pine Cones (assorted sizes)
A Small Bundle of Cinnamon Sticks
Assorted Artificial Fruit (floral picks)
Artificial Leaves
A Floral Berry Pick
Wire cutters
Your bowl can be as plain or decorative as you want. A basket would also work for this project.
I actually used three bags of pine cones I had on hand, in three sizes (S, M, L)– some of which were painted gold. Of course you can use pine cones you find outside; or they are available, by the bag, at most craft and home stores. (Home Depot has big bags of scented pine cones for under $5, as an example.)
You can use any kind of artificial fruit you’d like. They are available in a wide variety of types, colors and finishes to choose from. I used 2 pears, an apple and 4 pomegranates for this one.
For the leaves, I had used the flowers from an artificial poinsettia bunch for another project; then, cut the leaf stems off and used the leaves for this one. I didn’t have any wire cutters handy so I used an old pair of pruners to cut the stems. You might also find that an old dull pair of scissors will do the job just as well.
I only used one berry pick (stem) as the final accent. The stem was easy to separate and pull apart in sections but could also be cut apart. Again, different sizes, colors and finishes are available and can work well here.

First. lay out your materials so they are all visible and within reach. Remember, there is no wrong way or right way… just your way.
Next, dump your large pine cones in the bowl. Arrange them loosely. As you continue, you can arrange them any way you like.

If using painted pine cones, add the large ones and you can mix them slightly with the unpainted ones or group them on top. Adding them separately gives you the ability to make sure they are visible accents and don’t become buried in your arrangement.

Add all your medium pine cones to the mix. I literally just dump them on top and move a few around to balance them out among the larger ones already in the bowl.

Add the fruit to the bowl. You’ll want to start paying attention to the shape of your centerpiece at this time. Also, make sure you mix up the colors and kinds of fruit you are using for balance.

The cinnamon sticks are next. I randomly placed mine, sticking them in between the pine cones. If you want a more formal look to your arrangement, you may want to start placing things in your arrangement, more symmetrically.

Add the leaves or greenery. You may choose to use more or less, depending on your taste. Use just a few to accent or more to blend all the elements together.

Now, add your small pine cones. let them fill the gaps and voids and make sure to allow some to lay on the leaves and fruit.

At this point, you may want to rearrange some of your elements and get them exactly where you want them. Make sure to look at your project from all angles so it looks good from anywhere in the room. You can always add or subtract items as you go. The final step is to add the pieces of your berry stem as the final accents to your centerpiece.
You’re done! Congratulations!

Here are a couple other examples you may want to try. (I used the same style base bowl in all three examples here.)
For this next centerpiece, I used a large pineapple finial as the center, placed in the bowl, surrounded it with artificial evergreen picks and then accented it with smaller berry and fruit picks.

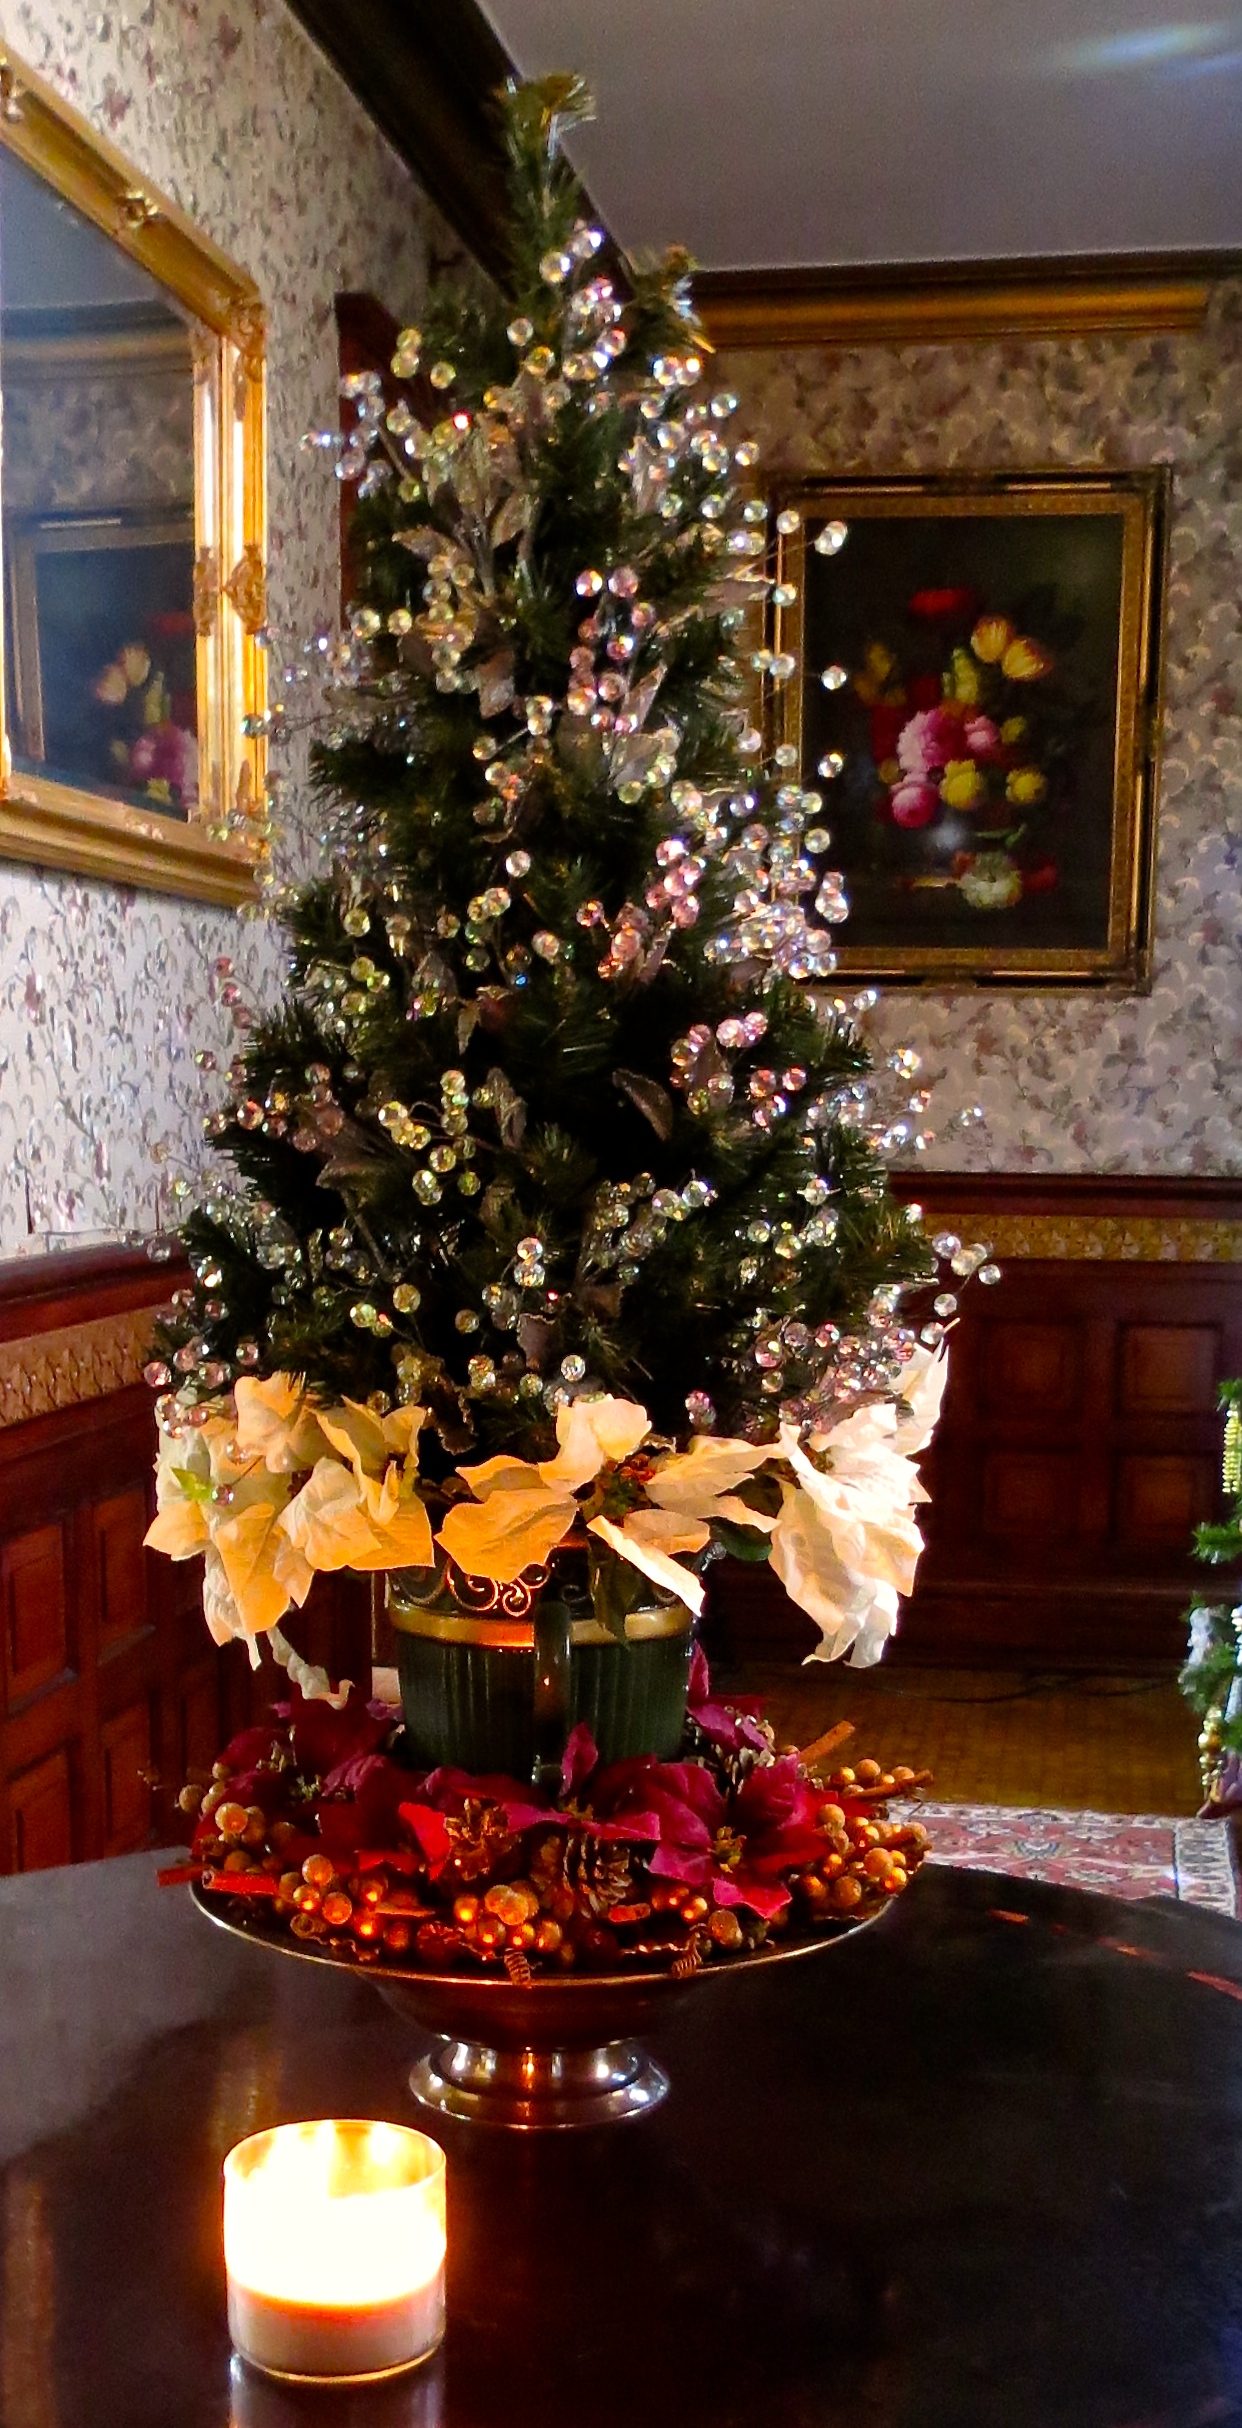
For my foyer table, I used the same general idea, placing a small tabletop Christmas tree in an urn and sat it in the center of a bowl, then added pine cones, topped them with grape clusters (evenly spaced) and then inserted cinnamon sticks between the grapes. On the tree, I used a large number of crystal berry picks inserted throughout the tree with white poinsettias around the base of the tree in the urn.
I hope you’ll find these ideas useful. If they inspire you to create your own centerpiece, please share them with me. I’d love to see your unique creations!


